It can be a hard decision weather to join a staff laptop to the work domain or not. Easier managment by having the machine on the domian comes at a cost of some functionality of the user; especially if the laptop is a personal computer and not from the compary itself.
The goal was for staff laptops to work just the same as if they were logged into a domain-joined desktop PC. Everything should be seamless to the user and be completely SSO, the same as domain-joined desktop computers. To do this, follow the few steps below:
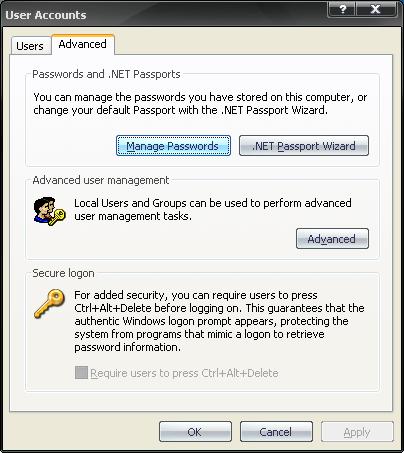
Navigate to Control Panel > User Accounts. Depending if you use the welcome screen or not, the window that appears may differ to what is shown below. If you are using the welcome screen, click the current user’s name and then click the link “Manage my network passwords”. If you are not using the welcome screen, click on the advanced tab and then “Manage Passwords” button.
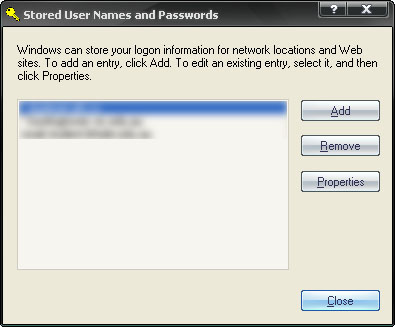
Click Add.
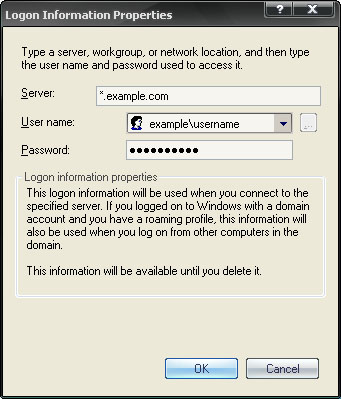
Enter in the domain name and then the user name in the form of “domainname\username” and the appropriate password. You may get prompted if you wish to change the password on the domain. Click Cancel if this does occur.
Now try and access a resource on the network. Go to Run and enter in a share name as a test. You shouldn’t need to enter a password in as it will automatically send this for you. This works fine for windows shares and any other NTLM authentication mechanism such as Outlook.
If you run Exchange server and use the webmail client, chances are that it will automatically detect that you are in an intranet zone and automatically send your user name and password. There is one more modification that we will perform to ensure that the stored password gets used for all resources within our domain. This includes webmail when the user is at home. The default settings of Internet Explorer will detect that our example.com domain is an internet domain when we are at home. What we will do is add it as a trusted zone and modify the security template to ensure that it passes the user name and password wherever we are.
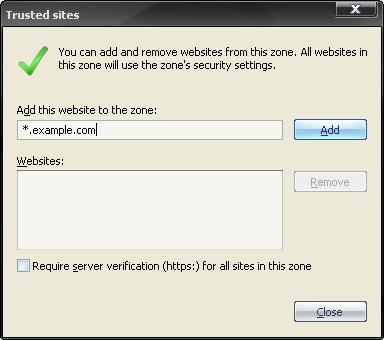
Open up Internet Explorer and navigate to Tools > Internet Options > Security (tab) . Click Trusted sites to make sure it is selected and then click the Sites button.
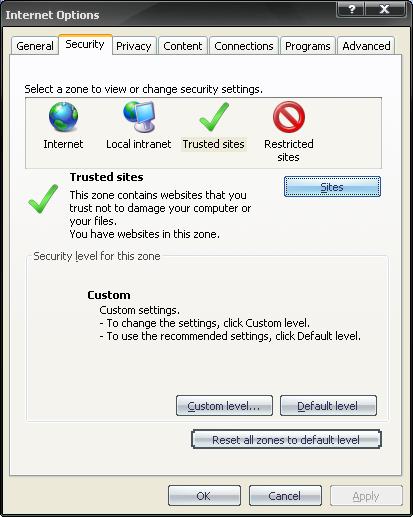
Add the site *.example.com and click Add. You may need to de-select “Require server verification…” if you are not using HTTPS.
Add and close this window and then click the Custom Level button. Once this window opens, scroll right down to the bottom of the list and change “Automatic logon only in Intranet zone” to “Automatic logon with current user name and password”.

Click OK and close this all off. Now you should not need to enter a user name and password every time you go t check you webmail or access any network resources.
Security Concerns
There are some security concearns surrounding this implementation.
- Seeing as staff use these laptops at home and are not managed by IT services, there is a higher risk of them becoming infected malware or the privilages abused by having them stored on the computer. If the staff memeber had another user of the laptop, they should create another use account for this purpose.
- Single point of failure regarding security. Once a villan has the laptop and is logged in, they also can access all their network resources.
- The encrypted NTLM password is sent through HTTP when the user is accessing webmail from home. This isn’t really a major concearn as the password is encrypted and is much better than the basic authentication that NTLM will fall back to if the user doesn’t pass NTLM requests properly.